|
 |
 |
|
|
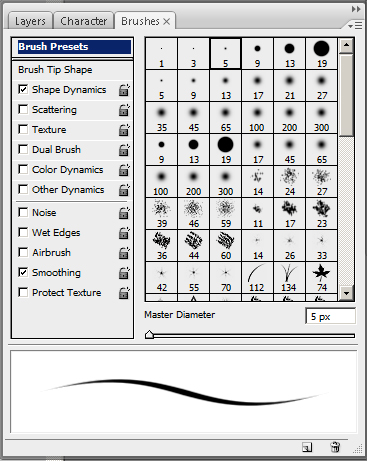
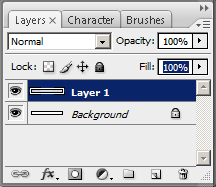
For sketching, the basic brush was all I needed. You can adjust the opacity and flow of your brush on your Brush Presets palette above. Remember, you’re only sketching your piece, so don’t get discouraged if your lines don’t look like your favorite illustrator’s lines. You can always use the Layers palette and opacities to refine and clean up your lines.
Your Layers palette also has presets you can use in tandem with just about any other feature Photoshop has to offer. Playing with the layer mode (Normal) was particularly fun when I was learning the Photoshop program back in the 4.0 days. |
|
|
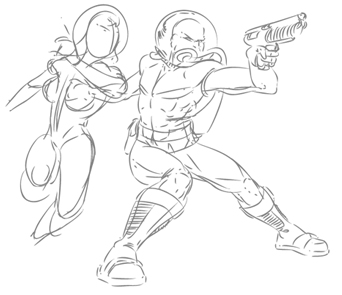
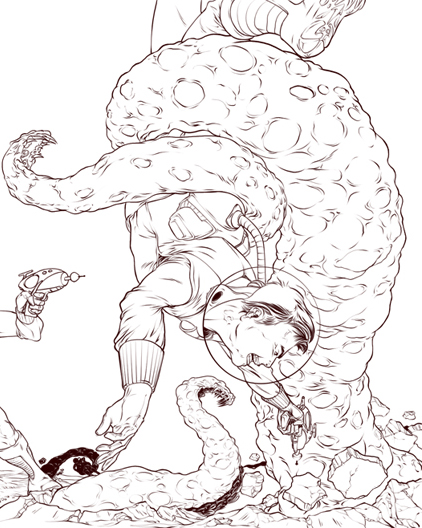
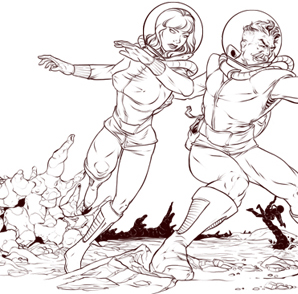
It kinda grew from there, stemming from homage to a possible mini-tale of “Space Adventure.” This is the first poster/splash page created for it. The final image size wasn’t a factor, but it’s always good to have a higher resolution setting when dealing with raster-based programs. I went with 300 D.P.I., but that setting can vary depending on what you intend to do with your art. You can adjust this setting by holding Alt+Ctrl+I in Photoshop. F.Y.I., if you plan on sharing a tutorial, be sure to document screen shots as you go along. I didn’t intend on posting a tutorial of this particular piece, so you’ll be reading more descriptive explanations for some parts. |
|
After you’ve cleaned up your art, you are all set to get into the nitty gritty of coloring, which is every bit as involved as conceptualizing and composing your art. So practice and practice and experiment with your tools presets. If you have any questions, just shoot me an e-mail. |
|
 |
|
| Contact | © Theodoro Gomez Jr., All rights reserved, 2010 |
COLORING SPACE ADVENTURE WALK THROUGH